
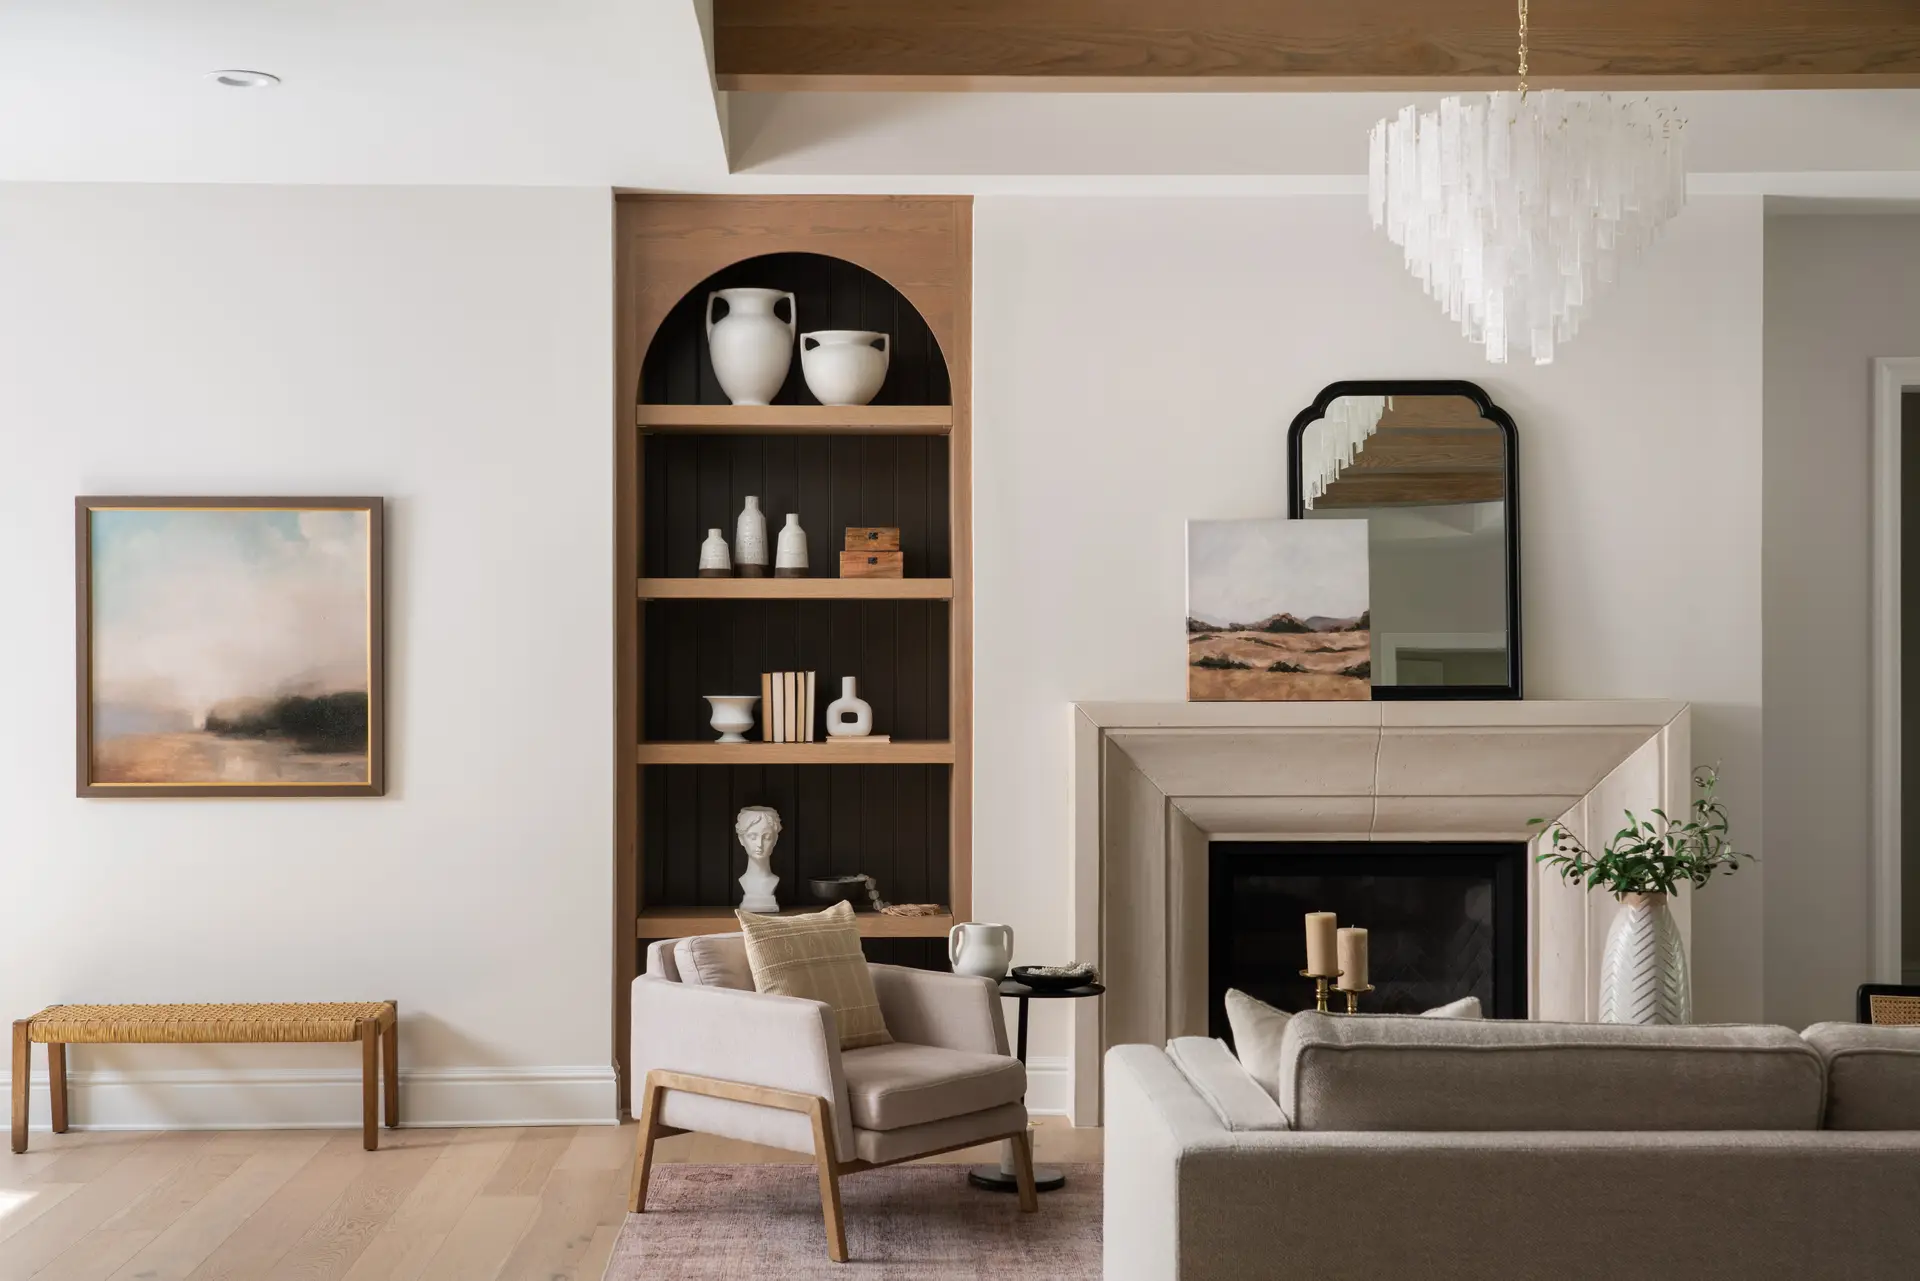
Most sellers prepare their home for buyers who walk through the front door. They clean, declutter, and make sure everything looks presentable in person.
But today, the front door is not where the first impression happens.
It happens on a screen.
The vast majority of buyers form their initial opinion of a home by scrolling through listing photos online. They decide within seconds whether a home is worth visiting. By the time they are considering a showing, they have already made a preliminary judgment based entirely on what they saw in photographs.
This means staging for photos is not the same as staging for in-person showings. The camera sees your home differently than the human eye, and preparing for one without considering the other is a missed opportunity.
Why Photos and Live Showings Require Different Approaches
When a buyer walks through a home, they experience it with all their senses. They notice the light, the scale of the rooms, how the layout flows. A few imperfections may not register because the overall experience is immersive.
A camera compresses everything into a flat image. It cannot capture smell, sound, or spatial depth the way a person can. What it does capture is clutter, mismatched colors, uneven lighting, and any detail that breaks the visual rhythm of a room.
Things that look fine in person can photograph poorly. Things that might seem like minor staging choices in a live showing, like the angle of a chair or the number of pillows on a sofa, become prominent compositional decisions in a photograph.
Knowing this changes how you prepare.

Start With the Walls and Floors
Before furniture and accessories, the camera will reveal what is on your walls and floors. Scuffs, nail holes, worn baseboards, and tired grout lines that the eye adjusts to in person appear clearly in photos.
Do a fresh coat of paint in any room where the walls look tired or marked. Touch up baseboards. Clean tile grout or replace caulk where discoloration is visible. These are the details photographers cannot work around, regardless of how well everything else is staged.
Flooring matters as well. Carpets should be professionally cleaned before the photography appointment, not just vacuumed. Hardwood floors should be polished. Area rugs should be straight and lint-free.
Remove More Than You Think You Need To
For in-person showings, light staging is often enough. For photography, rooms need to be edited more aggressively.
The camera amplifies clutter. A kitchen counter that looks reasonably tidy in person can appear crowded in a wide-angle photograph. Remove everything from countertops except one or two intentional pieces. Take down most items from shelves and leave only what is visually balanced and purposeful.
Bedrooms should have bedside tables clear of everything except a lamp and one small item. Bathrooms should have countertops completely cleared. Personal items, medications, and everyday toiletries should be stored out of sight entirely.
The goal is for every surface that will appear in a photo to look like it belongs in a design magazine, not a lived-in home.

Symmetry and Repetition Photograph Well
The human eye is drawn to symmetry and visual repetition, and this is amplified in photography. Rooms that use symmetrical arrangements read as polished and well-designed in photos.
A bed with matching nightstands and identical lamps on each side photographs more powerfully than an asymmetrical arrangement that might feel fine in person. A sofa flanked by two matching chairs anchors the living room in a way the camera can convey clearly.
Repeating a color across three or four elements in a room, such as a throw pillow, a vase, and a small tray, creates a sense of cohesion that reads clearly even in a still image.
These are not rules for how to live in a home. They are rules for how to present a home when every room will be reduced to a single photograph.
Lighting Before the Photographer Arrives
Photography amplifies lighting problems just as it amplifies clutter. Dark corners, mismatched bulb temperatures, and harsh overhead light all create issues that are difficult to correct in editing.
Before your photography appointment, turn on every light in the house, including lamps, under-cabinet lights, and accent fixtures. Replace any burned-out bulbs. Ensure that bulb temperatures are consistent within each room.
Open all blinds and curtains fully. If a room has both natural light and artificial light sources, both should be working together. Pull back any window treatments that block light rather than frame the window.
A well-lit room before the photographer arrives requires far less correction in post-production and produces images that accurately reflect the home’s best qualities.

Flowers, Greenery, and the Details That Finish a Room
In staging for live showings, fresh flowers and greenery add life and freshness to a space. For photography, they serve an additional purpose: they add organic texture and visual warmth that prevents staged rooms from looking too sterile.
A simple arrangement of white or neutral flowers on a dining table, a small plant on a kitchen counter, and a few stems in a vase on a bathroom vanity are enough. The goal is not to decorate elaborately but to add small moments of life that prevent the room from reading as empty or staged to an obvious degree.
The same applies to other finishing details. Folded towels in a bathroom, a neatly arranged coffee table book, a candle styled alongside a small tray. These are the details that signal care and intentionality in photographs.
Walk the Home Like a Photographer Would
Before your photography appointment, walk through each room and frame it as a photograph in your mind. Stand in the corner of the room where the camera is most likely to be positioned and look at what it would capture.
Is every surface intentional? Is the lighting even? Is there anything in the frame that should not be there? Is the furniture arrangement creating clear, readable lines that communicate the purpose of the room?
This exercise surfaces preparation issues that are easy to miss when you are simply walking through as a homeowner. The Linden Creek team does this kind of critical pre-photography review as part of the staging process, helping sellers and agents ensure that every room is camera-ready before the shoot begins.
Listing photos are where buyers choose to learn more about your home or move on to the next one. Everything before the showing depends on getting those images right.
Ready to prepare your home for the market? Connect with your local Linden Creek team to get started.
Leave a Reply